
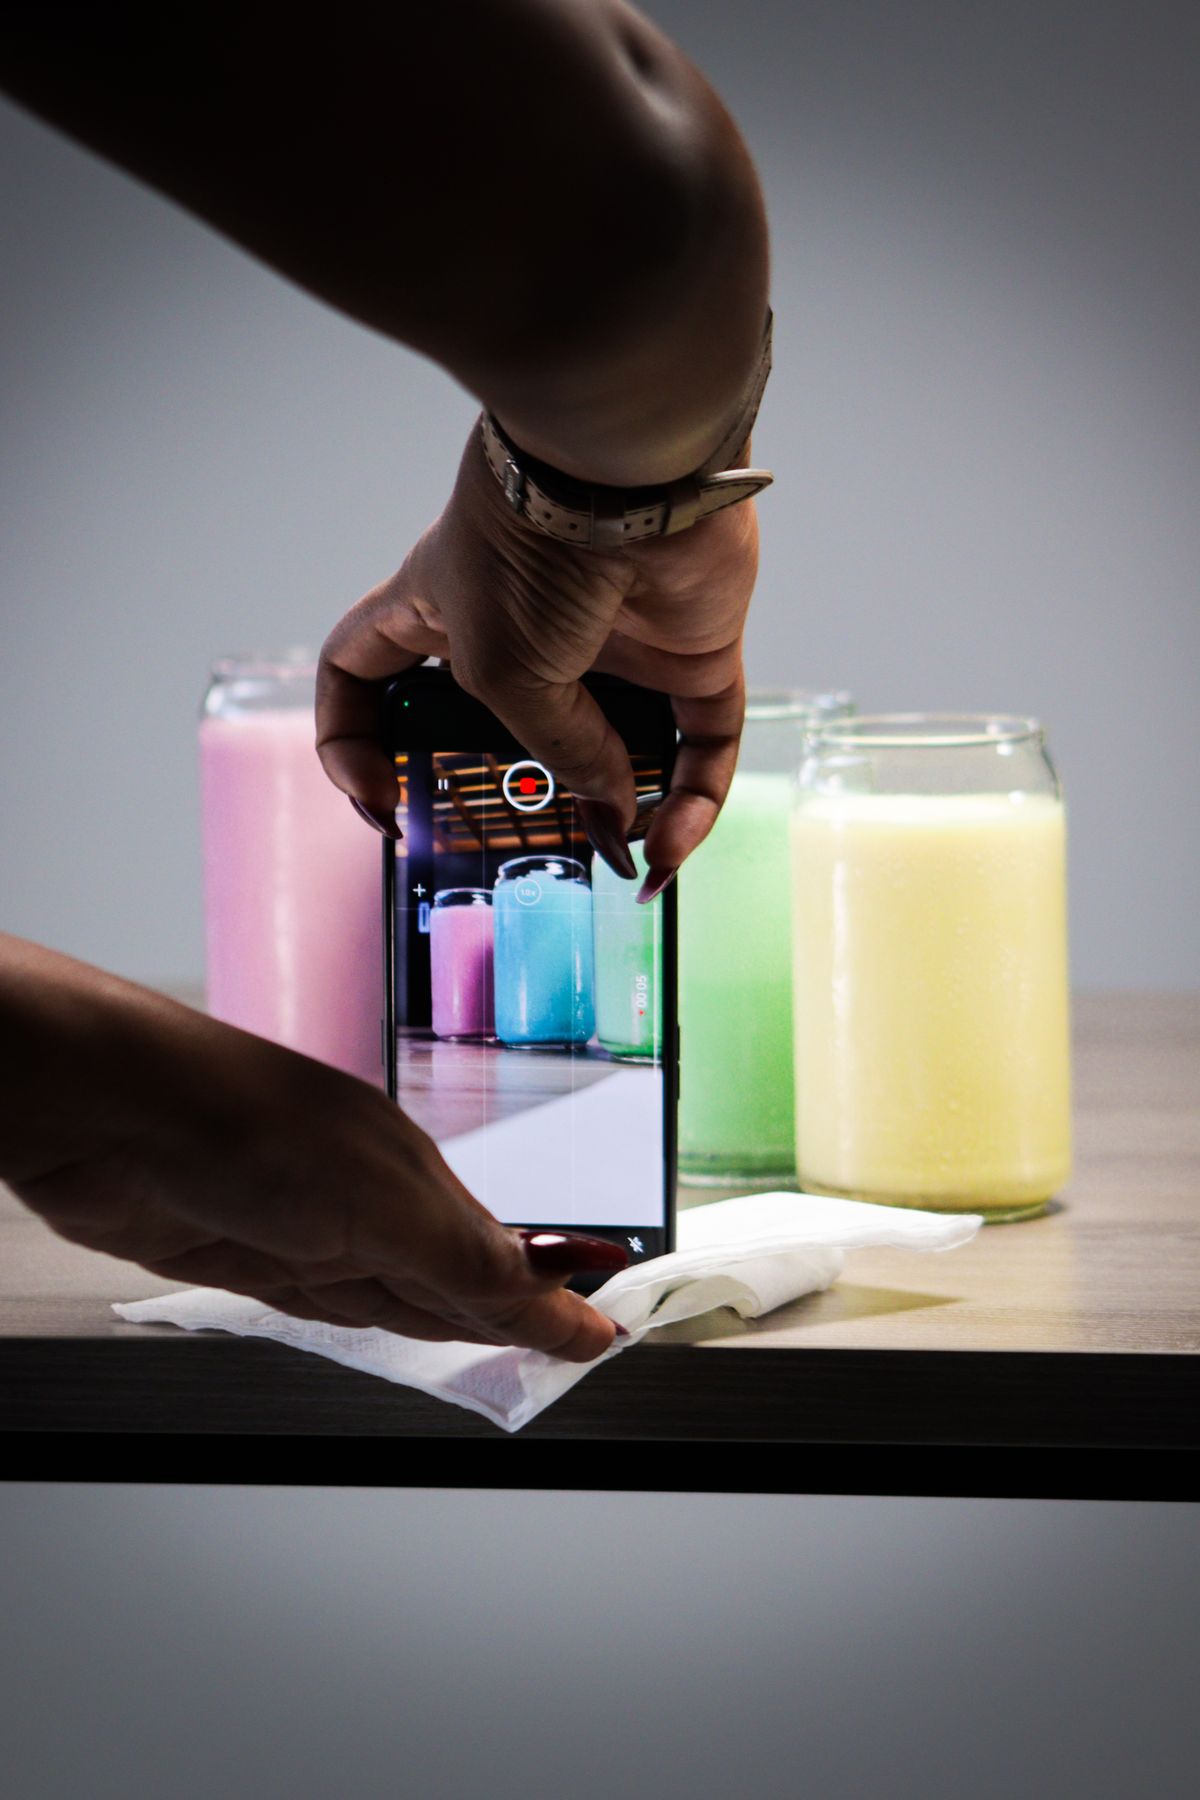
You've listed a new product, taken a few photos on your phone, and posted the best one to Instagram. It looks fine on your screen. Then it goes live and the colours look flat, the edges are cropped oddly in the grid, and the thing that looked crisp in your kitchen looks like a blurry thumbnail next to everyone else's feed. So you shoot it again. And again. An hour disappears, and the post still doesn't look like it belongs to a real brand.
If you're searching for how to take better product photos for Instagram, chances are you've already been told to buy a camera, a lightbox or a ring light. Most small store owners don't need any of that.
The Misconception: Better Photos Need Better Gear
The phone in your pocket already shoots at a quality Instagram will compress and shrink anyway. What makes product photos look professional is almost never the sensor. It's three boring things: light, background and consistency. Get those right and a ten-year-old phone will beat an expensive camera used in a dim room with a cluttered desk behind the product.
Consistency matters more than most people expect. A feed where every photo has a similar background, angle and brightness reads as a brand. A feed where each photo was shot in a different spot at a different time of day reads as a hobby, even if some of the individual shots are lovely.
Light: Use a Window, Not Your Phone's Flash
Natural light from a window is the best free lighting you'll ever get. A few specifics that make a real difference:
- Shoot near a window, not in direct sun. Bright, indirect daylight (an overcast morning is perfect) gives soft shadows. Direct midday sun creates hard shadows and blown-out highlights.
- Put the window to the side of the product. Side light shows texture and shape. Light from behind the product turns it into a silhouette, and light from your own position flattens it.
- Bounce the shadows with a white card. A sheet of white foam board or even a folded piece of printer paper opposite the window lifts the dark side of the product. It costs a couple of dollars at most.
- Turn off the room lights. Mixing warm bulbs with cool daylight gives products a yellow-green tint that's annoying to fix later.
Background: Pick One and Stick With It
You don't need a studio. A large sheet of white or light grey poster board, propped against a wall and curved down onto a table, gives you a seamless backdrop for small and medium products. For items like candles, skincare or jewellery, a single textured surface (a wooden board, a piece of linen, a slab of marble-effect vinyl) adds warmth without distracting from the product.
Two photos per product is a sensible target: one clean shot on the plain backdrop, which is also what you'll want for your store listing, and one styled shot showing scale or context, such as the mug next to a plant or the tote bag on a chair. The clean shot builds trust. The styled shot gives people a reason to stop scrolling.
If you've already shot a batch on something messy, our free background remover can cut the product out so you can drop it on a clean colour instead of reshooting everything.
Framing for Instagram: Sizes That Actually Work
Instagram crops what you upload, so framing the shot with that in mind saves you from awkward cuts later:
- Feed posts: portrait 4:5 (1080 x 1350 pixels) takes up the most screen space on a phone, so it tends to stop more thumbs than a square. Leave a little empty room around the product so nothing important touches the edge.
- Reels and Stories: vertical 9:16 (1080 x 1920 pixels). Keep the product in the middle of the frame, because the top and bottom are partly covered by buttons and captions.
- Shoot a bit wider than you think you need. You can crop in later. You can't add pixels that were never in the frame.
Turn on your phone's grid lines and keep the camera level. Slightly tilted product shots are one of the quickest ways a listing looks amateur, and it's an easy fix before you press the shutter.
Angles and Details Worth Capturing
For each product, a short checklist beats creative inspiration on a busy day:
- One straight-on front shot at eye level with the product.
- One from slightly above, around 45 degrees, which is how most people would pick the item up and look at it.
- One close-up of a detail: the stitching on a bag, the texture of a candle, the label on a bottle.
- One scale shot with a hand or an everyday object, so people can tell how big it is.
Four photos per product is enough to cover a feed post, a carousel and the raw material for a short video. Wipe fingerprints and dust off the product before you start. They show up in photos far more than they do in person.
Edit Lightly and Shrink Before You Upload
You only need two adjustments: raise the exposure a touch if the photo looks dim, and check that the whites are actually white. Skip heavy filters. They make products look different from what customers will receive, and that mismatch leads to returns and disappointed reviews.
Before uploading to your store, shrink the files. Huge phone photos slow your product pages down, and a slow page loses buyers before they see the product at all. The free image compressor runs in your browser and cuts the file size dramatically without visible quality loss. Keep the original full-size versions in a folder too, since those are the ones to use for anything you post.
Build the Habit: One Batch Session Per Month
The real trap isn't the quality of any single photo. It's treating photography as something you redo for every post. Set up your backdrop and window light once, then shoot every new product in one session, using the same four-shot checklist. Thirty minutes of that produces more usable content than weeks of one-off attempts, and it keeps your whole catalogue looking like it came from the same brand.
It also means your photos are ready to be reused. A single set of product images can become a feed post, a carousel, a Pinterest pin and the frames of a short video, without a new shoot for each.
Where VidyBack Fits In
Once you have good product photos in your store, the next chore is turning them into posts: cropping for each platform, writing captions, adding motion, and remembering to publish. That part is repetitive, and it's the part VidyBack takes off your plate. It connects to Shopify, Jumpseller, Wix, Etsy and Ecwid, pulls the photos and details from your catalog, builds videos and images from them, and schedules them to Instagram, TikTok, Facebook, YouTube and Pinterest.
So the effort you put into a decent half hour of photography keeps paying off, without a fresh round of editing every time you want something to post.
Turn Your Product Photos Into Posts Automatically
VidyBack turns the product photos in your store into videos and images, then schedules them across Instagram, TikTok, Facebook, YouTube and Pinterest.
Try VidyBack FreeWritten by VidyBack Team
Sharing what actually works for ecommerce social media automation.